


Next.js is a popular JavaScript framework that allows developers to build server-rendered, statically generated and client-side web applications. While it is typically used for building web applications, it is also possible to use Next.js to create desktop apps.
In this tutorial, we will be showing you how to use Next.js and TailwindCSS to build a desktop app. We will be using Electron, which is a framework for building cross-platform desktop applications with web technologies, to package our Next.js app as a desktop app. Electron allows us to take our web app and wrap it in a native container, giving it the same functionality as a traditional desktop app.
By the end of this tutorial, you will have a basic understanding of how to use Next.js and Electron to build a desktop app. You will also have a working desktop app that you can run on your computer.
Initialize the project
To begin, copy and paste the following code into your terminal to initialize a new project using Next.js, TailwindCSS and ElectronJs
npx create-nextron-app my-app --example with-javascript-tailwindcss
This will create the folders of the app, cd into that directory and install the packages using npm install or yarn .
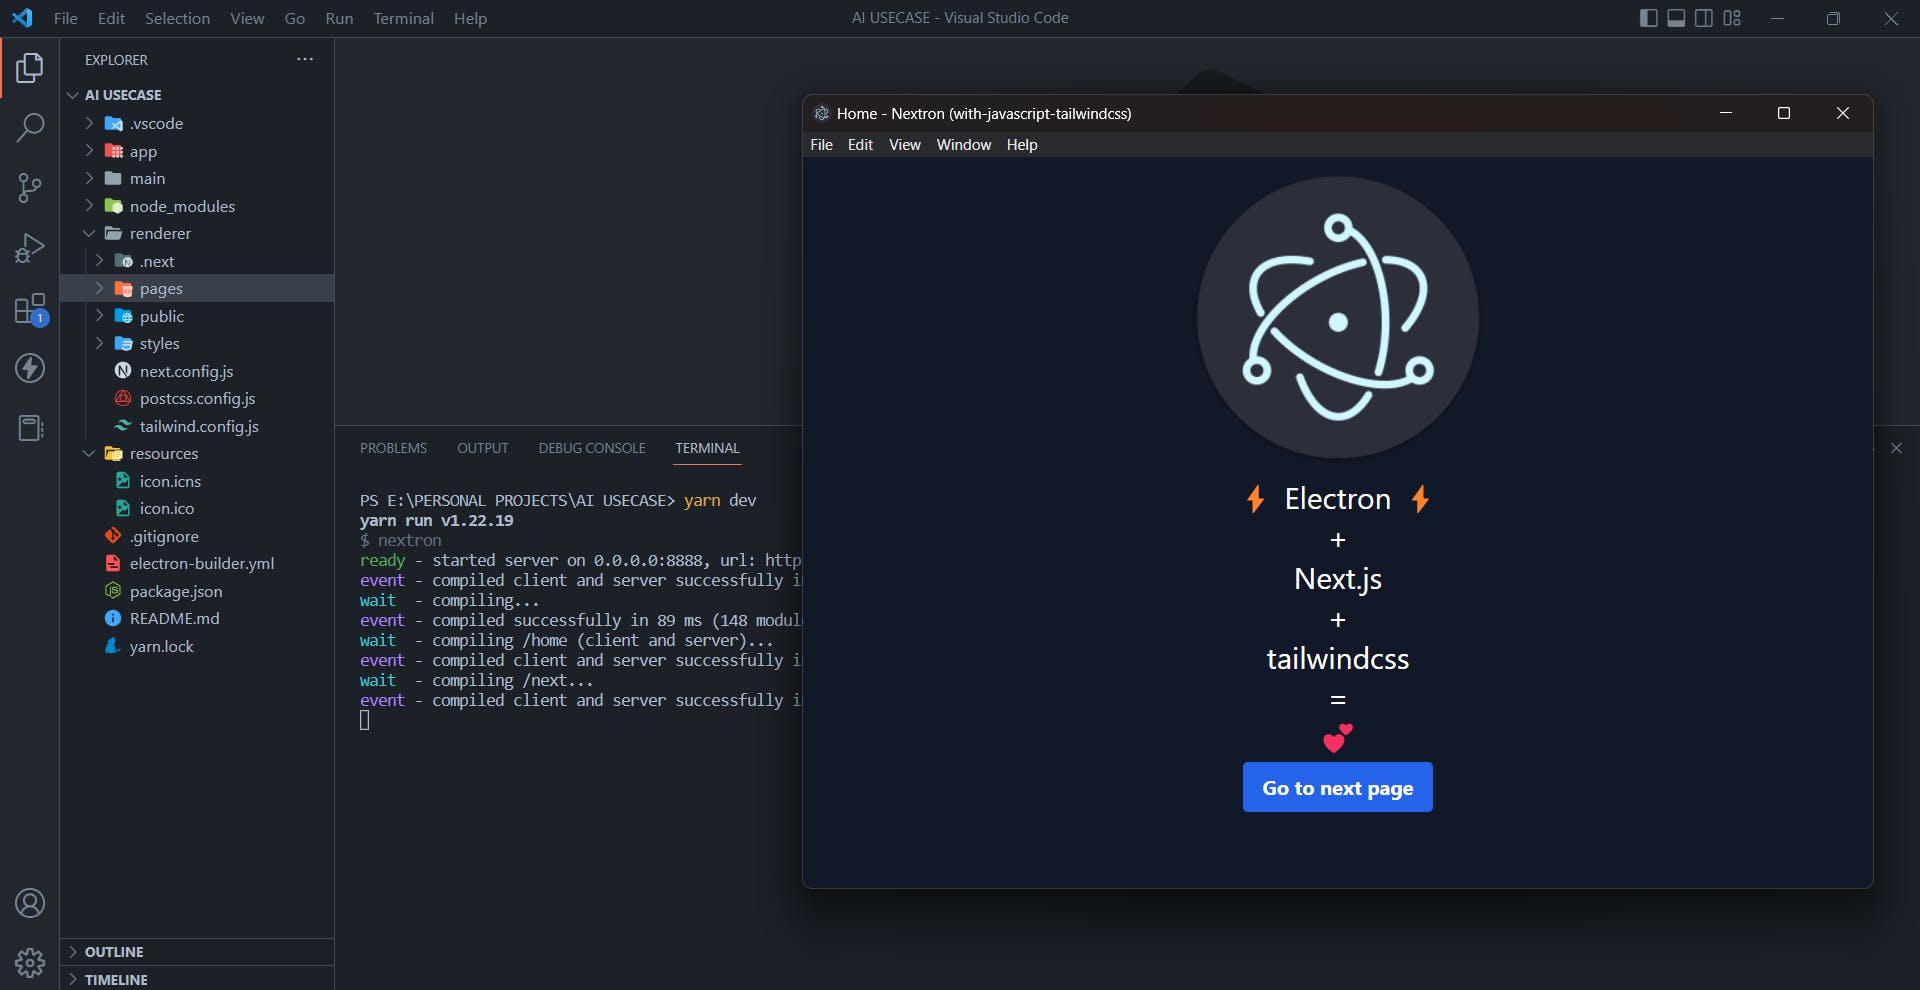
After that you will be able to see a folder structure that looks like this:

You can see a similar folder structure to that of a bare next js app in the renderer folder. And we will be working on that only
Write npm run dev or yarn dev in your terminal of vs code and you will be able to see your electron app pop out
Initial Configuration for Next Js
In the pages folder, you will see that there is a file named home.jsx , which is equivalent to index.js file in normal Next js applications. Go ahead and rename the home.jsx to index.jsx . You will see the default 404 page of Next js in the window.
To make this thing correct, we will navigate to the background.js file under the main folder and change the following lines:

Now, the renderer folder looks exactly like that of a new Next Js app.
Let's start coding 🫡🫡
What are we making
We will be making a simple javascript code editor. Here's a preview

Coding the app
Paste this code in the app.jsx file so that the layout looks pretty 💘
import React from "react";

import "../styles/globals.css";

function MyApp({ Component, pageProps }) {
  return (
    <div className="bg-gray-700 max-w-screen min-h-screen text-white">
      <Component {...pageProps} />
    </div>
  );
}

export default MyApp;
Now go to the global.css file in the styles folder and remove everything except these
@tailwind base;
@tailwind components;
@tailwind utilities;
Now you have your beautiful app layout. Head on to the index.jsx file and remove everything. Then paste the code below
import React from "react";
import Head from "next/head";

function Home() {
  return (
    <div className="w-screen h-screen flex items-center justify-center relative">
      <Head>
        <title>Code Editor</title>
      </Head>
    </div>
  );
}

export default Home;
Creating the code editor
In this tutorial, we will be utilizing the react-ace library to build a code editor component for our application. So, go ahead and install the react-ace package.
Create a folder named components inside the renderer folder and then create a new file. In my case, it is CodeEditor.js . Below is the given code of that file. To use any other language, you will need to import it using import "ace-builds/src-noconflict/mode-<language>" . Where <language> stands for the language you want to use. Now, for using any other theme, you have to import that using import "ace-builds/src-noconflict/theme-<theme>" .
import React, { useEffect, useState } from "react";
import AceEditor from "react-ace";

import "ace-builds/src-noconflict/mode-javascript";
import "ace-builds/src-noconflict/theme-twilight";
import "ace-builds/src-noconflict/ext-language_tools";

const CodeEditor = () => {
  const [code, setCode] = useState("");

  return (
    <div className="w-[90%] md:w-[70%] flex h-max items-center justify-center shadow-xl">
      <AceEditor
        mode="javascript"
        theme="twilight"
        onChange={(e) => setCode(e)}
        name="coding_area"
        editorProps={{ $blockScrolling: true }}
        value={code}
      />
    </div>
  );
};

export default CodeEditor;
Let's import this file into the index.jsx file and see how it looks
import React from "react";
import Head from "next/head";
import CodeEditor from "../components/CodeEditor";

function Home() {
  return (
    <div className="w-screen h-screen flex items-center justify-center relative">
      <Head>
        <title>Code Editor</title>
      </Head>
      <CodeEditor />
    </div>
  );
}

export default Home;
If you stop the server and restart it, you will see this error

This is coming due to server-side rendering of Next Js. The window object is only defined in the browser, so if you are trying to start the server on the server-side (e.g., using Node.js), the window object will not be defined.
We have to dynamically import the component inside the directory
import React from "react";
import Head from "next/head";
import Link from "next/link";
import dynamic from "next/dynamic";

// Dynamically importing the component
const Editor = dynamic(import("../components/CodeEditor"), { ssr: false });

function Home() {
  return (
    <div className="w-screen h-screen flex items-center justify-center relative">
      <Head>
        <title>Code Editor</title>
      </Head>
      <Editor />
    </div>
  );
}

export default Home;
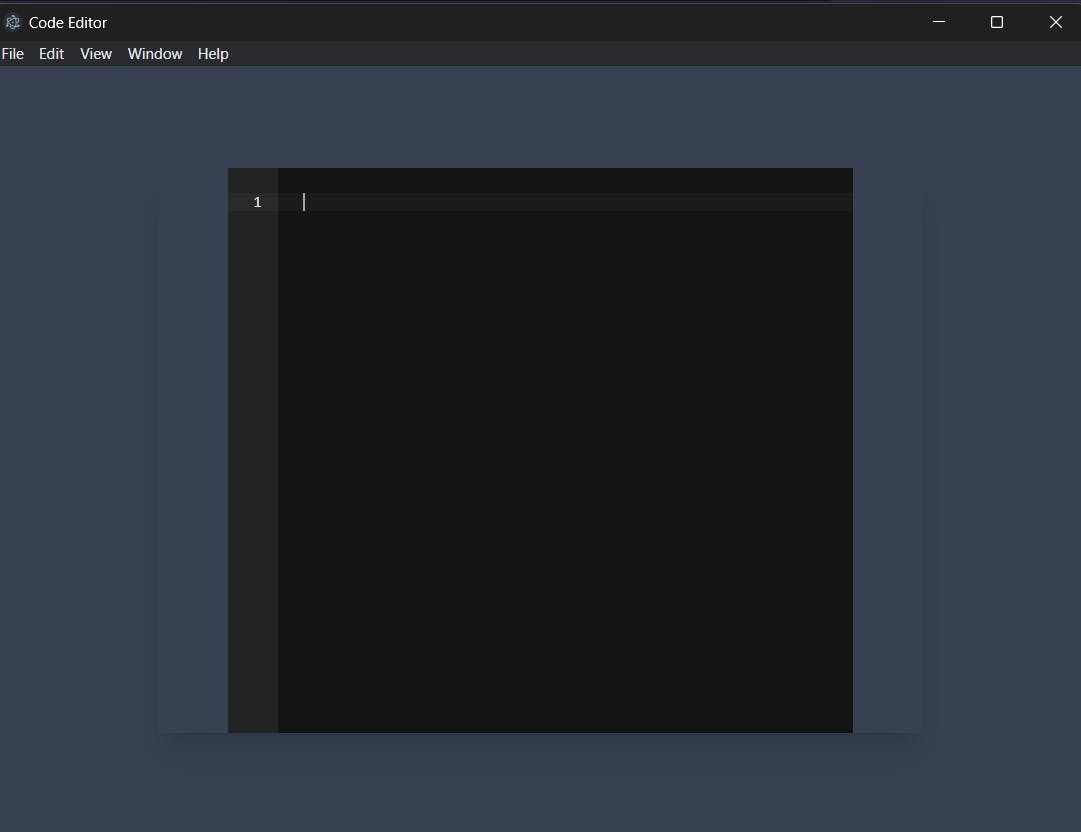
Now, restart the server and you will see this beautiful screen
Styling the Editor
To customize the code editor, you may want to consider using various props provided by the react-ace library. For a complete list of available props, please see the documentation here: github.com/securingsincity/react-ace/blob/m... Below, we have provided the code to beautify the editor using some of these props:
// components/CodeEditor.jsx
import React, { useEffect, useState } from "react";
import AceEditor from "react-ace";

import "ace-builds/src-noconflict/mode-javascript";
import "ace-builds/src-noconflict/theme-twilight";
import "ace-builds/src-noconflict/ext-language_tools";

const CodeEditor = () => {
  const [code, setCode] = useState("");

  return (
    <div className="w-[90%] md:w-[70%] flex h-max items-center justify-center shadow-xl">
      <AceEditor
        mode="javascript"
        theme="twilight"
        onChange={(e) => setCode(e)}
        name="coding_area"
        editorProps={{ $blockScrolling: true }}
        setOptions={{
          enableBasicAutocompletion: true,
          enableLiveAutocompletion: true,
          enableSnippets: true,
        }}
        showGutter={false}
        className="rounded-lg"
        style={{ width: "100%" }}
        onLoad={(editor) => {
          editor.renderer.setPadding(20);
          editor.renderer.setScrollMargin(20);
        }}
        maxLines={100000}
        minLines={30}
        wrapEnabled
        value={code}
      />
    </div>
  );
};

export default CodeEditor;
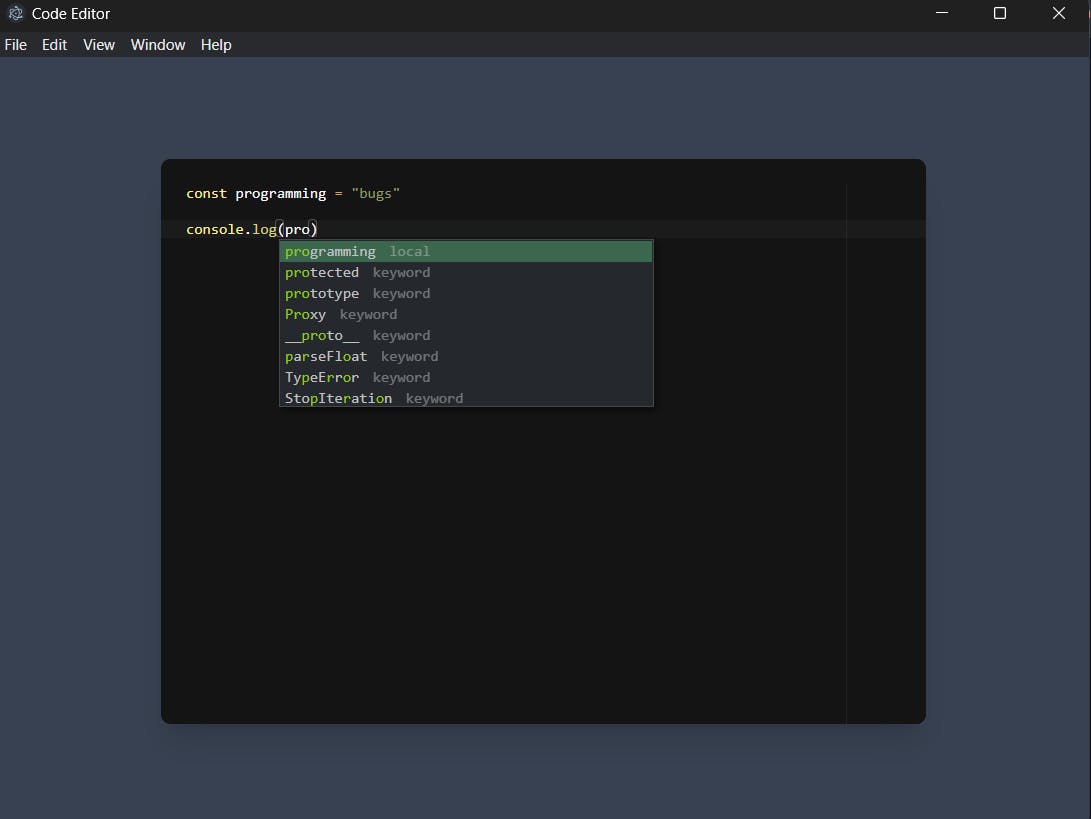
Your app should look like this if you write the following stuff
Building the app for your pc
Go ahead and paste npm run build or yarn build in your terminal to start the build
A new dist directory has been built at the root of the project. Since I am using windows, it has created a setup.exe file for me. Install it and your app is ready
Conclusion
In this article, we walked through the steps of creating a desktop app using Next.js. From setting up a new project and installing the necessary dependencies to customizing the user interface and adding features like syntax highlighting, we covered all the basics of building a desktop app with Next.js. By following these steps, you should now have a solid foundation for creating your desktop apps with Next.js. Whether you are looking to build a simple app for personal use or a more complex app for professional purposes, Next.js provides all the tools you need to get started